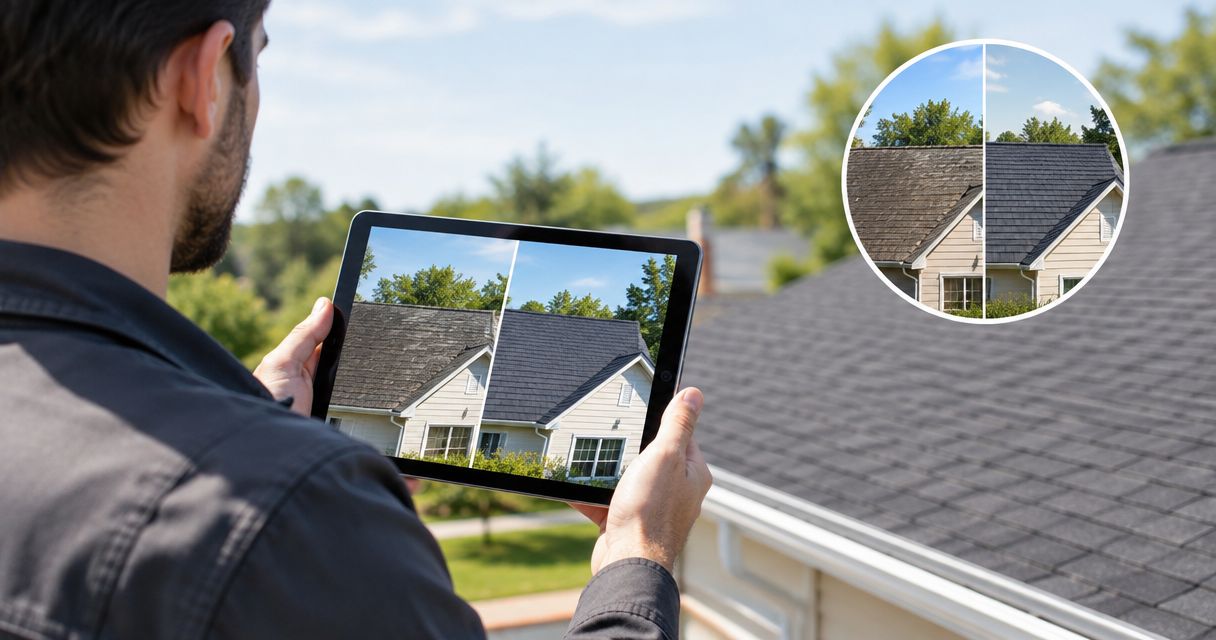
Use before-and-after photos to sell roofing jobs by showing the same roof from the same angle, explaining what your crew changed, and placing a clear inspection request beside the finished work. For your 2026 website and social posts, show the result honestly: a finished-roof photo supports your explanation, but it does not prove hidden installation details or guarantee future performance.
- How to use before-and-after photos to sell roofing jobs: match angles, explain scope, and ask for an inspection.
- Use 2 matched photos per comparison, with additional detail shots when the work needs explanation.
- Moore Media Collective is best for trade owners seeking branding, websites, and social media management.
- Keep homeowner details private, get permission to publish, and never edit away defects.
Why this matters
Homeowners cannot inspect your workmanship through a slogan. Give them something concrete to judge: the original condition, the work performed, and the finished appearance. Then explain what the pictures cannot show.
Your photo pair needs a place in the sales process, not just a folder on your phone. A roofing company website should connect project evidence with your services and a clear next step. An attractive roof without context leaves the homeowner guessing whether you handle their problem.
How do you use before-and-after photos to sell roofing jobs?
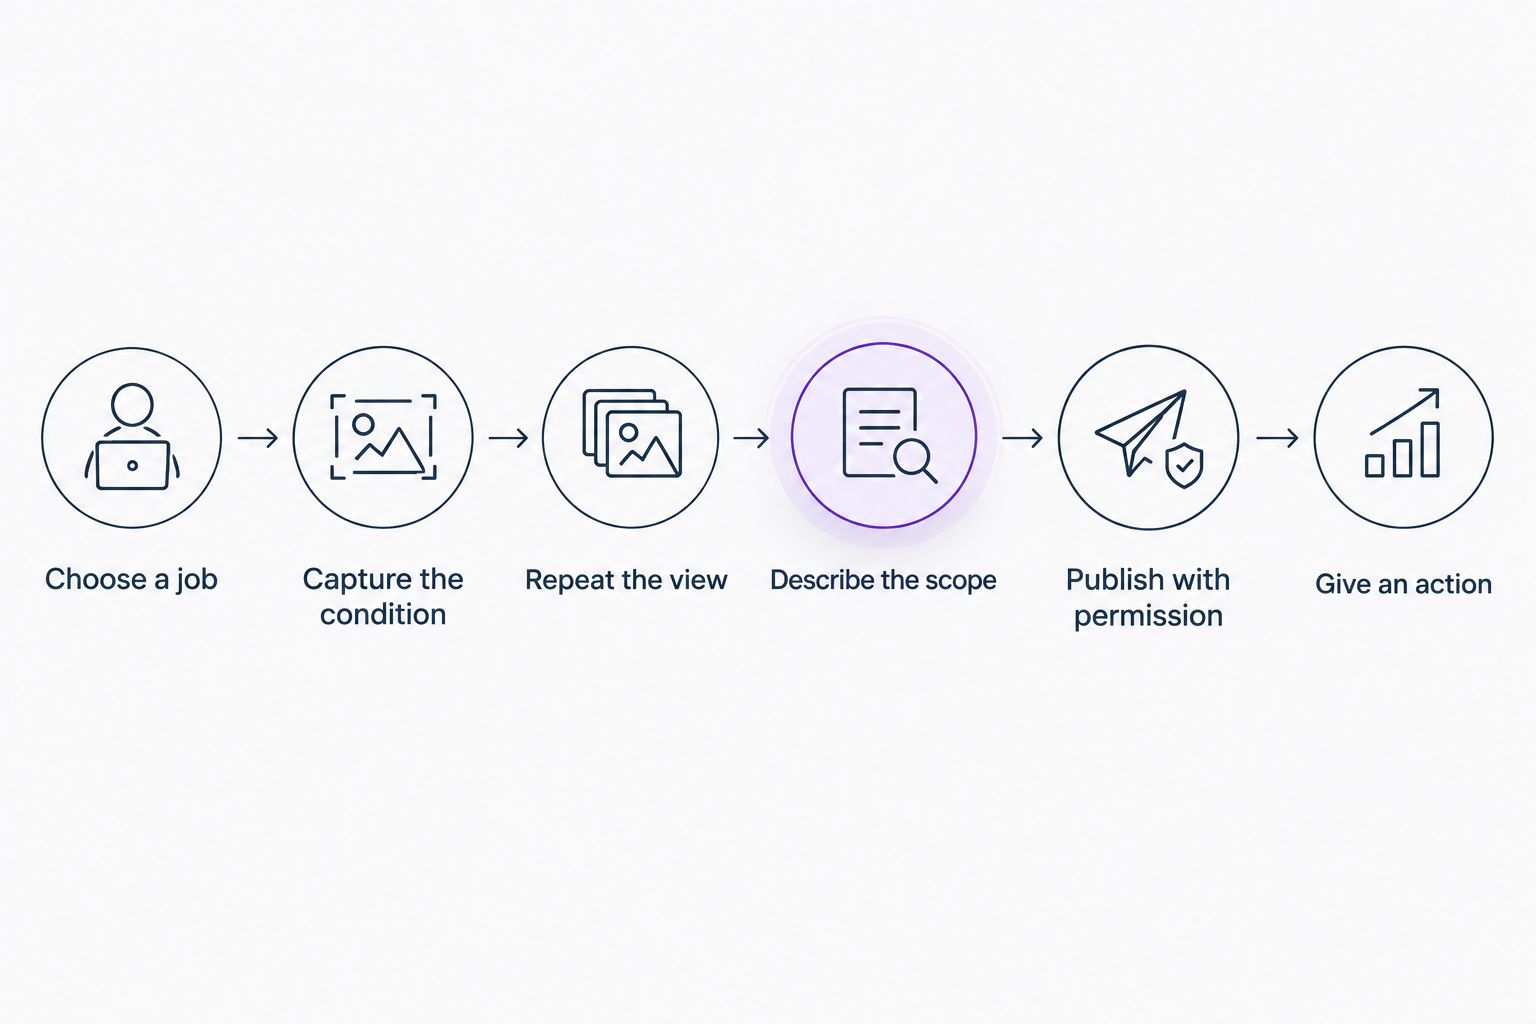
Show the problem. Explain the work. Ask for the next step. Build each project story around that sequence instead of posting an unexplained transformation.
- Choose a relevant job. Pick work that matches a service you want to sell. A replacement project belongs beside replacement information, not under a repair claim.
- Capture the starting condition. Take a wide view from a safe location before work starts. Add a detail image when it explains the problem more clearly.
- Repeat the view. Photograph the completed roof from the same position with a similar crop. Keep enough of the building visible to establish that it is the same property.
- Describe the actual scope. State what your crew did using the project record. Do not turn a cosmetic difference into an unsupported performance claim.
- Publish with permission. Confirm the homeowner's approval and remove identifying details that do not belong in public marketing.
- Give the reader an action. Put an inspection request or contact option beside the project, not somewhere they must hunt for it.
For your 2026 workflow, make photo capture part of the job handoff. Assign responsibility before the crew arrives. Otherwise, the starting-condition shot becomes impossible to recreate once the old materials are gone.
Build a photo routine your crew can follow
Use a short job checklist rather than asking the crew to remember marketing instructions. Record who takes the photos, where approved files belong, and who confirms the caption before publication.
Start with 2 matched photos per comparison. Add detail shots only when they explain something the wide view misses. A picture of flashing should have a factual caption about that detail, not a broad claim about the entire roofing system.
Keep the original files. Save edited copies separately so you can check that cropping or light adjustments have not changed what the work actually looked like.
Which before-and-after layout should you use?
Choose the layout based on what the homeowner needs to understand. The practical comparison below focuses on clarity, not decoration.
| Layout | Best for | Advantage | Limitation |
|---|---|---|---|
| Side-by-side pair | Comparing the whole roof | Shows both conditions together | Each image becomes smaller on a narrow screen |
| Stacked pair | Reading on a phone | Gives each image more room | Readers must scroll between views |
| Interactive slider | Comparing closely matched views | Lets visitors reveal the change | Requires interaction and careful testing |
| Project story | Explaining scope and details | Connects images with the work performed | Takes more writing and page space |
Use a simple pair when the visual change tells the story. Choose a project story when the important work needs an explanation. A slider is an option, not a requirement.
Test the layout on your own phone before approving it. Check whether you can recognize the roof, read the labels, and reach the contact action without fighting the page.
Keep the comparison fair
Use the same orientation and a similar field of view. Do not compare a tight, shadowy damage shot against a bright, distant finished view and expect it to explain the work fairly.
Weather and sunlight will not always match. Keep the images honest, label them clearly, and explain any difference that makes the comparison harder to interpret. Never add damage, remove defects, or replace the actual result with a generated roof image.
What should a roofing before-and-after caption say?
Use 3 parts: the condition, the work, and the next step. Write what happened in plain English. Homeowners should not need roofing experience to understand the point.
- Condition: Describe the visible issue or the customer's stated reason for the project.
- Work: Name the work your crew actually completed, using verified job details.
- Next step: Tell the reader how to ask about a similar concern.
For a 2026 caption template, use this structure only when the project supports every statement: the original photo shows the starting roof condition; the finished photo shows the completed work; the closing line invites the homeowner to request an inspection.
Do not copy a claim from another contractor's post. Terms such as storm damage, code compliance, insurance approval, and warranty coverage need their own factual support. A dramatic image does not establish any of those things.
Explain what the image cannot prove
A finished roof can show appearance, visible details, and the extent of work visible from that angle. It cannot establish the condition of every concealed component.
If a project includes work beneath the finished surface, use accurately labeled progress photos and verified scope notes to explain it. Do not make the final photo carry a claim it cannot support.
The same rule applies to testimonials. Use a homeowner's exact approved words, not an invented quote about how pleased they were.
Why do roofing photo results vary?
A photo pair is sales evidence, not a promise of booked work. Review these factors before blaming the pictures or publishing more of them.
- Service match. Show the kind of job the visitor is considering. Explain whether the example covers a repair, replacement, or another service you actually provide.
- Comparison quality. Similar angles and clear labels make the change easier to inspect. Unrelated crops leave questions unanswered.
- Scope clarity. State what changed and what remained. Avoid implying that a limited repair was a complete replacement.
- Page placement. Keep the relevant project near the service explanation and contact action. A buried gallery asks visitors to connect the dots themselves.
- Next-step clarity. Tell the reader what to request. Do not promise an appointment, inspection outcome, or service you have not confirmed.
- Follow-up process. Track what happens after an inquiry. A photo cannot answer an unanswered call or qualify a lead for you.
Review these points during your 2026 website check. Fix unclear scope and broken contact paths before spending time on elaborate image effects.
Where should roofing before-and-after photos go?
Put relevant examples where homeowners are deciding whether to contact you. Reusing an approved project is sensible; repeating the same unexplained image everywhere is not.
| Placement | Best for | Advantage | Limitation |
|---|---|---|---|
| Service page | Supporting a specific service | Keeps evidence beside the offer | Needs an example that matches that service |
| Project page | Explaining a detailed job | Leaves room for scope and progress images | Needs a clear route back to contact |
| Social post | Introducing completed work | Gives followers a concrete project to inspect | Offers less room for the full explanation |
| Estimate follow-up | Answering a prospect's concern | Lets you choose a relevant example | Requires accurate context and permission |
For a Des Moines roofing service page, use a local project only if that location is accurate and approved for publication. Do not attach city names to unrelated work to make the page look local.
Moore Media Collective provides roofing website design and social media management. That combination fits owners who want approved project photos used across both channels; it does not replace your responsibility to verify project facts, permissions, and roofing claims.
Approve the photos, captions, and placement before any live-site changes. Keep that approval step explicit in the project brief.
How do you know whether roofing photos help sell jobs?
Track the path from the project to the inquiry, then from the inquiry to the outcome. Likes alone do not tell you whether a homeowner requested an estimate or booked work.
Record the project page or post associated with an inquiry when that information is available. Ask prospects what helped them decide to call, and keep their answer with the lead record rather than relying on memory.
Compare relevant inquiries, estimates, and booked jobs using consistent definitions. Do not credit every sale to a photo just because the customer saw it. Website content, referrals, reviews, and your sales conversation can all be part of the decision.
For 2026 reporting, document when you changed the gallery or page layout. Without that record, you cannot make a clean comparison between the earlier and revised presentation.
Can you use photos of a customer's roof without showing their address?
Yes. A roof comparison does not need a street address to explain the work. Get permission for marketing use and check the frame for house numbers, license plates, people, and other identifying details before publishing.
Permission to perform roofing work is not a substitute for clear permission to use the property in marketing. Keep the approved use with the project files and seek legal advice when you need a release suited to your business.
Do before-and-after photos replace roofing reviews?
No. Before-and-after photos show visible work, while reviews describe a customer's experience. Neither format proves every claim about the job.
Use both when you have permission and accurate information. Keep review wording intact, and do not present a project as customer-endorsed unless the customer actually endorsed it.
FAQ
What's the best way to take before-and-after roofing photos?
Take the starting and finished photos from the same safe position with a similar crop. Label each image and add detail shots only when they explain work the wide view misses.
How many photos should I use for a roofing comparison?
Start with 2 matched photos per comparison: the starting condition and the completed work. Add progress or detail photos when the scope needs more explanation.
Should I put roofing before-and-after photos on my homepage?
Use a relevant example on your homepage if it helps explain the roofing work you want visitors to request. Keep the full project explanation on a suitable service or project page when it needs more space.
Can I edit roofing project photos before posting them?
Use restrained cropping and light adjustments that preserve the actual condition and result. Never remove defects, add damage, or alter the roof to make the work look different.
Will before-and-after photos guarantee more roofing jobs?
No. Before-and-after photos provide visible evidence, not a booking guarantee. Track relevant inquiries and booked work instead of treating views or likes as sales.
Should I include a customer's exact address in a roofing post?
Leave the exact address out unless you have a clear reason and explicit permission to publish it. Check photos for identifying details as well as checking the caption.
Can Moore Media Collective help with roofing photos on a website?
Moore Media Collective provides website design and social media management for roofing companies. Discuss how approved project photos should support those services, and approve proposed changes before anything goes live.
One last thing
The photo you cannot recover is the before shot. Once the crew removes the old materials, the original condition is gone. Make that image part of the pre-work checklist, taken from a safe location before the job changes.
Then choose your strongest honest comparison. Explain it clearly. Give the homeowner a next step. A useful project story beats a gallery full of unexplained roofs.